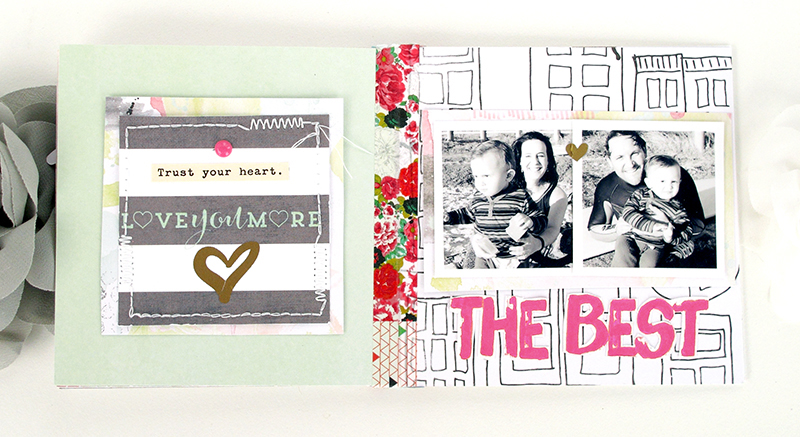
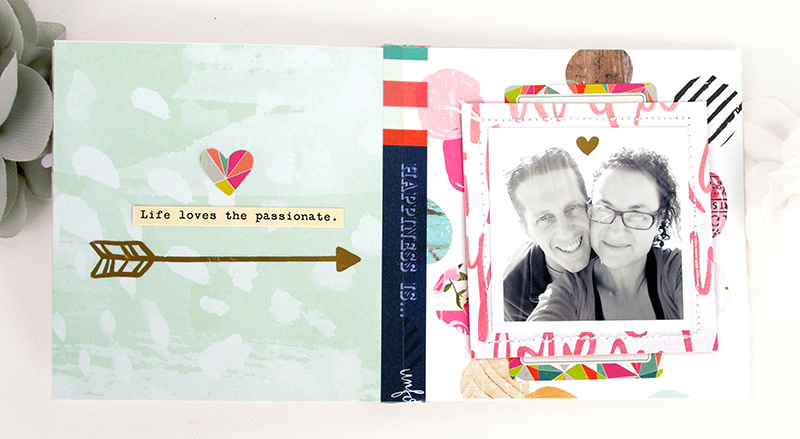
Showing posts with label Mini Album. Show all posts

Monday, December 28, 2015

December Documented Album- Inside Pages

Happy holidays friends, I hope you are having a fabulous time celebrating this special time of year with family & friends? I know I am & have been taking tons of photos which I have added to my December Documented album! I realise many of you might have completed your albums already but I am hoping mine might still inspire those of you from the Southern Hemisphere who received their kits a little later than our Northern Hemisphere friends & those of you still looking for a few ideas to complete yours.
With things quietening down a little today I am finally be able to share some of my D.D spreads with you. Living in South Africa means we have Christmas in Summer which can be tricky to scrap when using gorgeous, winter inspired  products. I found by working with the kit palettes closely & making the photos black & white, I was able to successfully combine our beach & summer Christmas photos  with products from the December Documented kit & November 2015 kits.
December Documented album by Kim Watson
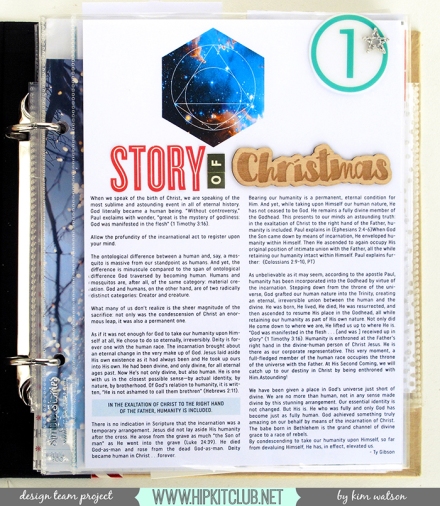
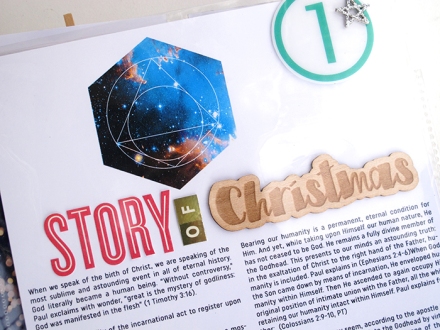
Kim Watson+Dec Documented+HKC01I began the first page with the story of Christmas. A deep meaningful explanation of why we believe what we believe. To fit more text into the space allowed without compromising the legibility, I set it up like a magazine article.Kim Watson+Dec Documented+HKC02
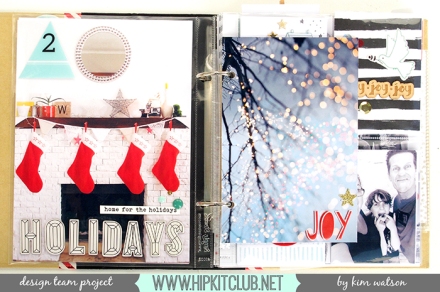
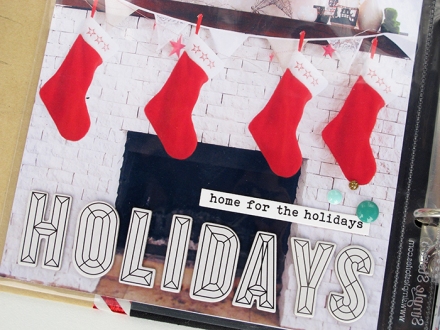
Kim Watson+Dec Documented+HKC03My next page is an enlarged photo of my fireplace & mantel. I attached the alphas on the outside of the pocket to make sure I could reposition easily if I found they were crooked (which they were LOL). My next page is an enlarged photo of my fireplace & mantel. I attached the alphas on the outside of the pocket to make sure I could reposition easily if I found they were crooked (which they were LOL)Kim Watson+Dec Documented+HKC04
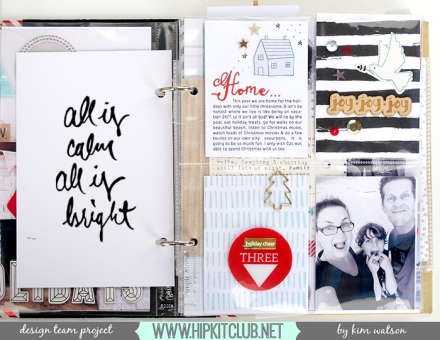
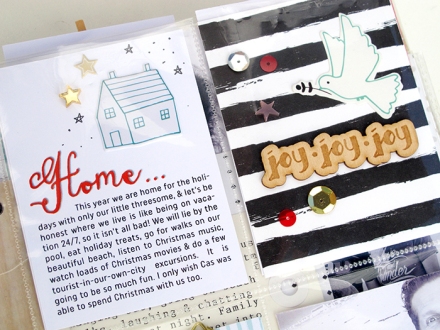
Kim Watson+Dec Documented+HKC05This spread includes journal cards, a photo, some cute embellishments. Kim Watson+Dec Documented+HKC06
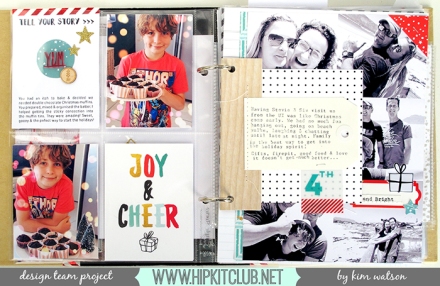
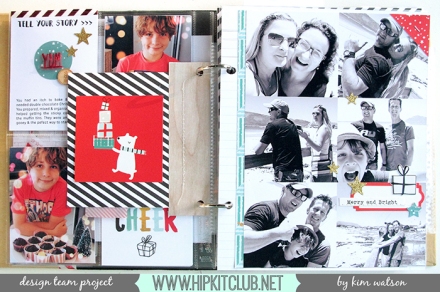
Kim Watson+Dec Documented+HKC07My 4th spread covers x2 subjects with photos. To separate them I included a journaling tag acting like a file divider. The inclusion of red stripes, visually ties both sides together.Kim Watson+Dec Documented+HKC12
Kim Watson+Dec Documented+HKC08
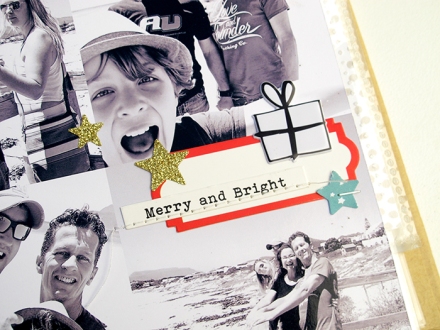
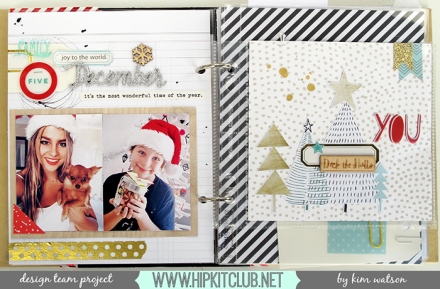
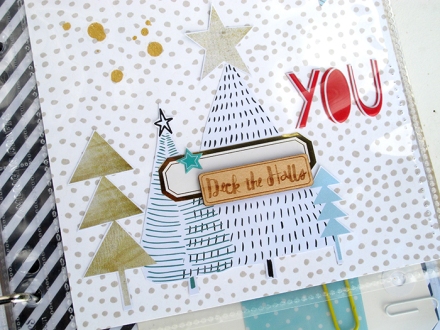
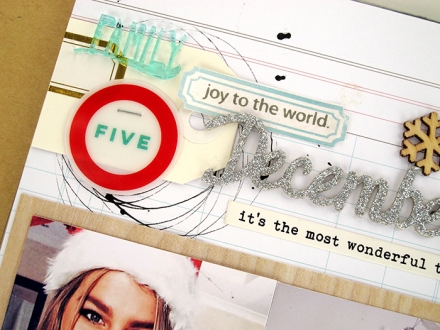
Kim Watson+Dec Documented+HKC09For this spread, I decided to scrap the left side as if it was a mini scrapbook page. Keeping the colors fairly neutral with pops of color from the Santa hats in the photos, ties the page with the mini page on the right side. Kim Watson+Dec Documented+HKC10
Kim Watson+Dec Documented+HKC11For more spreads please stop by my blog later this week or visit the Hip Kit Club Instagram account, I hope my pages have inspired you to work on your D.D. If you are still looking for a December Documented kit (with or without) album, stop by the Hip Kit Club online store & grab yourself one whilst you still can. Thanks for stopping by…have a super Monday!
Bye for now…:D

Thursday, April 09, 2015

Mini Brag Book + inside pages

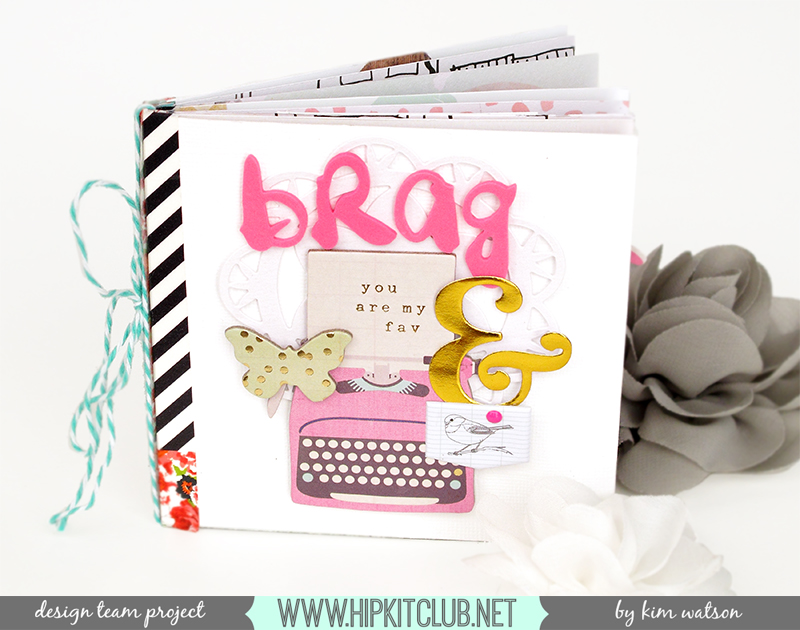
I have a mini book to share, as seen on the Hip Kit Club blog a few weeks ago! 
My Mom loves to brag about her kids & grandkids. Visitors pop around for tea & out come the albums & mini books. Knowing this gives me a legit excuse to make mini brag books regularly, particularly because they are quick & so rewarding to make. I make sure, when I design them I don’t add too much journaling, knowing how much my Mom & her sweet friends love to chat,  it leaves conversation space for my Mom to fill in the details.
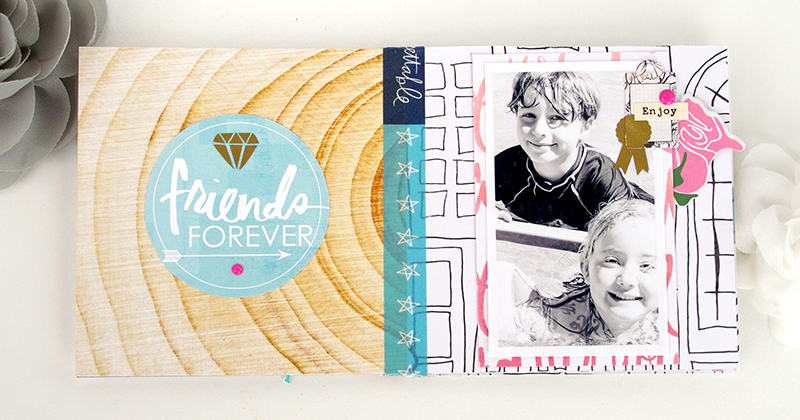
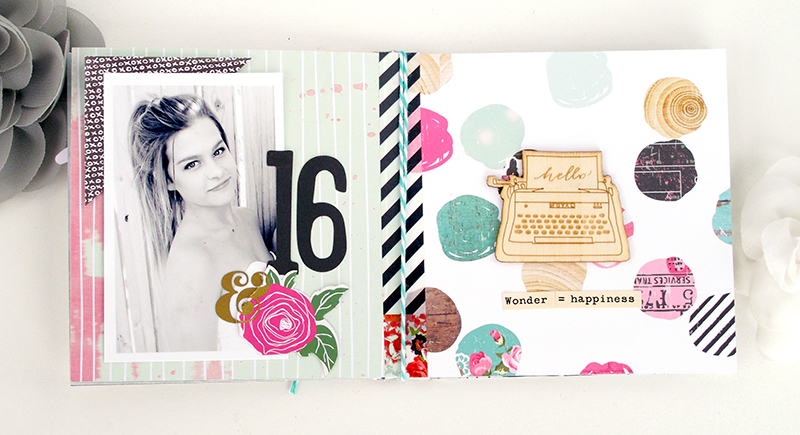
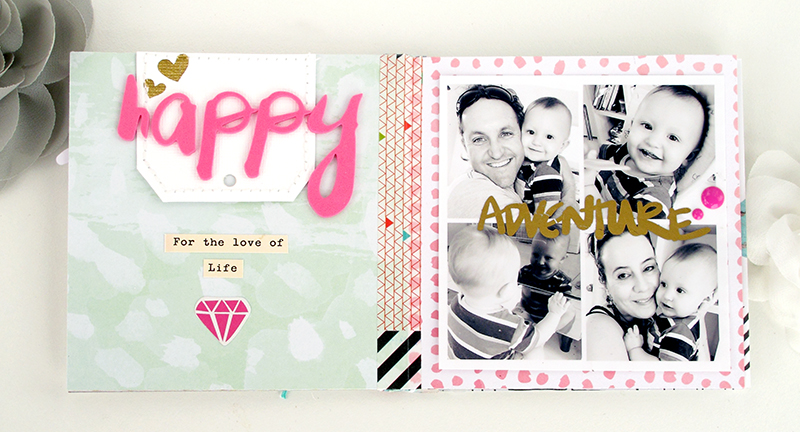
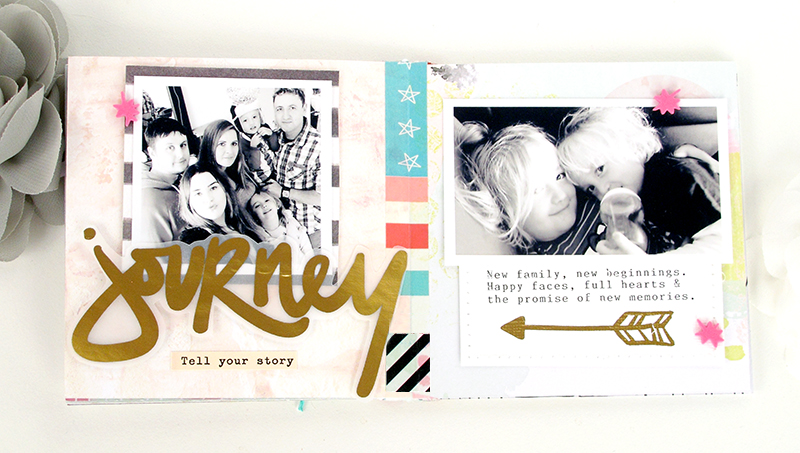
Mini Brag Book by Kim Watson
@HipKitClub @KimWatson #hipkitclub @crate_paper #minibook
This is how you can make one for yourself.
Instructions:
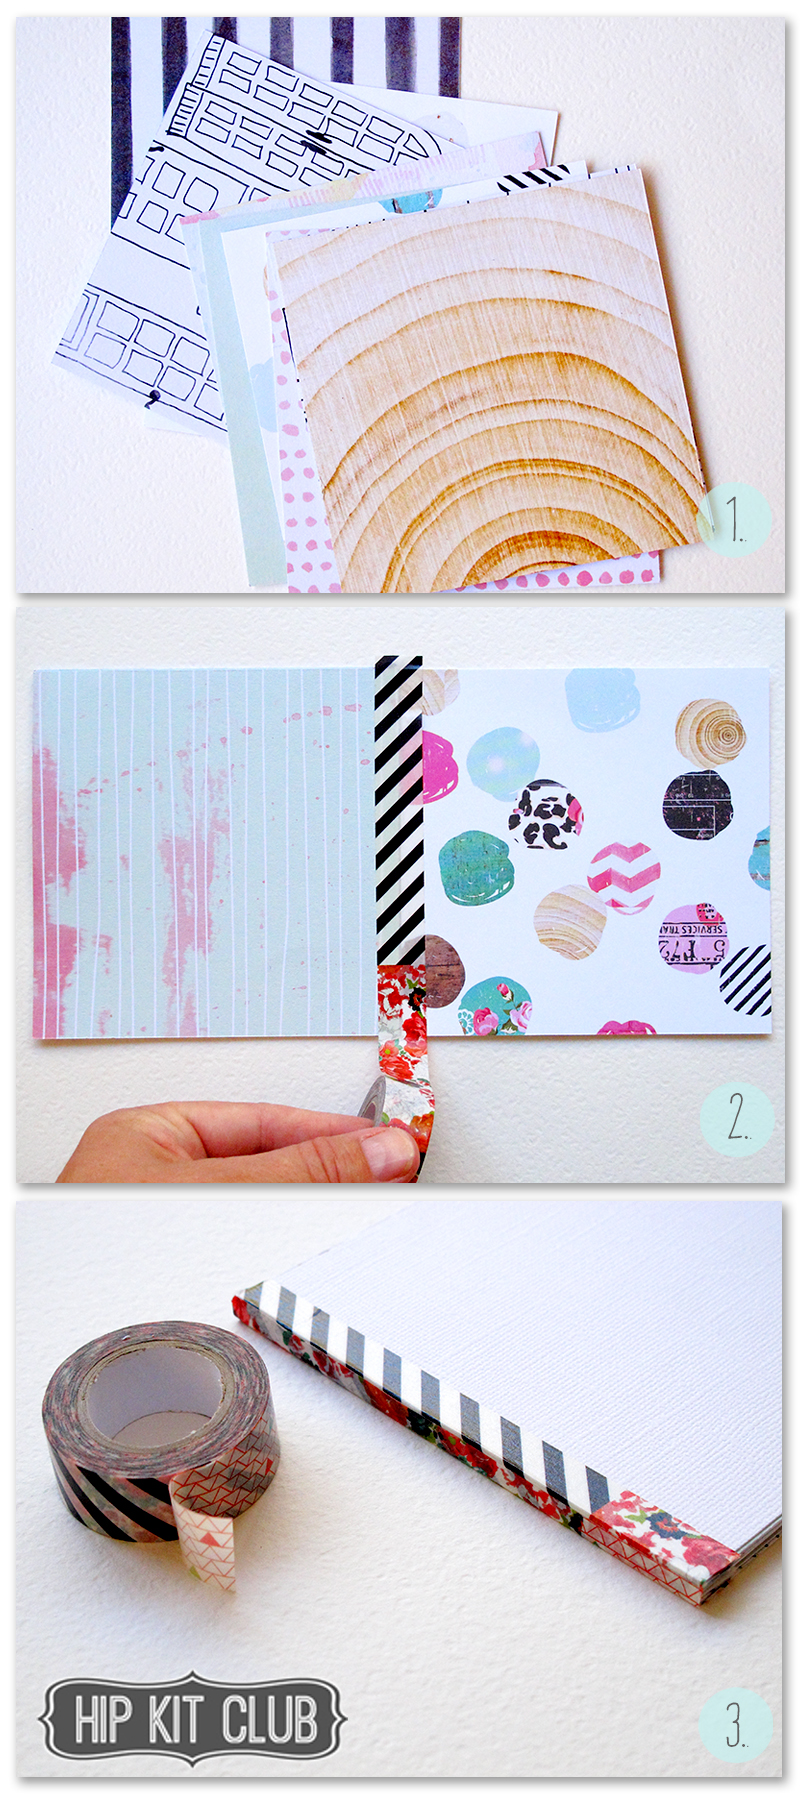
  1. Using the gorgeous February kit, grab yourself a selection of pretty patterned papers, the American Crafts foam alpha sheet, enamel dots, ephemera die-cuts & gold rub-ons from My Mind’s Eye.
  2. Cut pages for your mini book 4.5″x4.5″.
  3. Using Heidi Swapp washi tape, join the pages together
  4. Once you have the desired amount of pages, attach x2 white cardstock covers to the outer pages for strength.
  5. Bind the whole book together with a couple of layers of washi tape. The beauty of Heidi Swapp washi tape, is that it has a variety of patterns in one roll which makes for super interesting detail on the book spine.
  6. Finally bind bakers twine around the middle pages of the book, tying on the outside.
  7. Let’s fill those pages!!
@HipKitClub @KimWatson #hipkitclub @crate_paper #minibook
Pages 1 & 2:
@HipKitClub @KimWatson #hipkitclub #minibook
Pages 3 & 4:
@HipKitClub @KimWatson #hipkitclub #minibook
Pages 5 & 6:
@HipKitClub @KimWatson #hipkitclub #minibook
Pages 7 & 8:
@HipKitClub @KimWatson #hipkitclub #minibook
Pages 9 & 10:
@HipKitClub @KimWatson #hipkitclub #minibook
Pages 11 & 12:
@HipKitClub @KimWatson #hipkitclub #minibook
Pages 13 & 14:
@HipKitClub @KimWatson #hipkitclub #minibook
Cover: 
KimWatson+MiniBragBook+02HK
Thanks for stopping by today, I hope you have found this mini book inspiring!!
If you haven’t had a chance to purchase your February, March, & April kits yet, then don’t miss out!  They are packed full of a beautiful,  well co-ordinated selection of products, you will LOVE!
Visit the Hip Kit Club website, to secure yours today! 
I am so glad you stopped by today!! 

Tuesday, March 17, 2015

Mini Book that doesn't require binding ➳ Tutorial

Looking for a great mini book tutorial using a technique that can be used time & time again?

When life is crazy, and your scrapbooking time is limited, do you ever wish you could just finish a project from start to finish?

Then I have just the thing for you to try.

Summer Mini Book by Kim Watson


Let's get started. You will need the following...


Fancy Pants Designs Supplies:

  • Brag Cards
  • Patterned papers
  • Alpha Stickers
  • Embellishments
  • Buttons


Other Supplies:


  • White cardstock
  • Serrated scissors
  • Adhesive
  • Sewing machine
  • x3 colored rubber bands
  • Regular scrapping tools

Mini Book Tutorial with Rubber Band Binding Technique by Kim Watson

Instructions:

1.) Take a variety of the patterned & plain letter sized paper & fold them in half.
2.) Stick the long open sides together of each page as close to the edge as possible.
3.) Once completed, clamp all pages tightly together in a pile.
4.) Mark off a little notch 3/8" from the 'spine'. The notch can be approx. 1/4" wide & 3/16" high. Cut out with sharp craft knife, making sure to cut through all pages, on the top of spine as well as the bottom. The little recess for the rubber bands to hook on to.
5.) Score every page at 11/16" (which should be at the inner most side of the notch). This will allow the pages to fold back easier.
6.) Stretch your rubber bands around the width of the mini book & place in notches. The pages will be completely secure now.


7.) Prepare your 3x4"cover 'card'. I stitched it, matted it onto white cardstock & added stickers for a great front cover. 

Your mini album is ready for filling.
For extra 'space' for journaling & photographs, I filled each page pocket with the extra brag cards Stapling little sticker tabs to the edges of the cards makes it easier to slide the cards in & out of the pockets.

I hope you have found this inspiring! Let me know if you use the technique...I'd LOVE to see your version.

ENJOY your Tuesday!!


Tuesday, February 25, 2014

Camera shaped mini book + FREE cut file.

Yep...it's FREEBIE time again!

I have a FREE cut file for you to use for (your personal use only). This was the original Camera mini book I created for Creating Keepsakes Magazine (as seen in the Creating Keepsakes Minibooks 2013 special issue). 


My FREEBIE cut file this cute little pink camera mini book and is a version of the original "Click & Zoom" mini book (as seen in the Creating Keepsakes Minibooks 2013 special issue). When you look at the cut files, you'll notice the SVG version is slightly different to the .Studio version because I was too lazy to redo my SVG file for this pink mini book- cough! If you are confident in the Silhouette software, I suggest you adapt & cut which ever pieces you'll need for whichever version you decide to make. 

SNAP pink camera mini book by Kim Watson
Oh Baby! Camera mini book by Kim Watson: SuppliesCardstockAmerican CraftsPatterned paper: Echo Park; Stickers: Lilybee, Heidi Swapp, Alpha Stickers & Buttons: Bella Boulevard; Ribbon & plastic embellishment: Pebbles Inc; Stamp on back: Technique Tuesday; Ink: Close to my Heart; Adhesive: Tombow, 3L, Eleene's; ToolsCutting mat, trimmer & scissors: Fiskars, Die cutting machine: Silhouette Cameo; Other: Jump Pings, Safty pin, Bone Folder.
Inside I included 3x4 cardstock cards with rounded corners to hold my photos. The jump ring makes it easy to flip through the piccies.
A quick note about the 'lens'. All I did was concertina 2"x12"strip into 2"squares and then keeping one folded side intact, scissor cut a 2" circle shape. Using foam squares I lifted each layer, giving the lens height & that zig-zag effect.
 The stamp on the back is to capture the time, date & info pertaining to the photos. 

Have fun making yourself one of these... they make the BEST baby shower gifts. NB: If you use the cut files (your personal use only) please remember to acknowledge Creating Keepsakes magazine or myself when posting online. 

Thank you for stopping by crafty friends, I look forward to seeing your lovely creations! 


Monday, October 28, 2013

Christmas Mason Jar Mini album + Win some Tombow

Hi crafty friends! 
Welcome to the Tombow blog hop. As most of you know, I LOVE Tombow products, so am thrilled to be joining their talented DT today. I am happy to tell you that not only do you have a chance to WIN some fabulous adhesive goodies on this hop but you will get to see some super cute projects on each persons blog. 


I have a Mini book tutorial to share with you using some of the brand NEW 'Merry Little Christmas from Fancy Pants Designs' & some of Tombow's super range of adhesives. 

These are the supplies you'll need to grab:
  • 6x6 Patterned paper pad
  • Stickers sheet
  • Alpha stickers sheet
  • Tickets
  • Small decorative tags
  • Ephemera
  • Buttons
  • Wooden sentiment
  • Cork adhesive label
  • Mini Christmas Trees
  • Mason Jar
  • Piece of Tinsel
  • A mini snowman
  • Colored twine


Cover the surface of the cork label with Mono Adhesive Power Bond & firmly press your 'tinsel snow' onto it, making sure the surface is covered. Using Mono Aqua Liquid Glue, adhere all other decorative goodies to create a little snow scene. Aren't the Fancy Pants Designs mini trees cute!!  

Remove the cork label adhesive backing & slip into the bottom of the mason jar, pressing firmly to adhere to the glass. 
Cut to the size of your jar, a variety of pages for the mini book. Decorate the cover page with 3D elements adhering them with Mono Multi Liquid Glue & Foam Tabs. Stitch the pages together for strength & crafty interest. 
Cut paper gussets, 2"x the width of your mini book, decorative circles for the top of the jar lid & inside lid, and x2 slightly wider gussets to adhere the mini book to the lid. 

Using Mono Multi Liquid Glue, stick the pages together with your paper gussets & the x2 wider ones on the front & back pages. Rounding the corners will make it easier to fit inside the circle lid. 
Power tabs are the perfect way to make sure the booklet is completely secure under the lid of the jar, & will easily withstand repeated use :) Cover the inside of the lid with a patterned paper circle split in half. This not only adds strength but finishes off the lid nicely. Layer a combination of wooden sentiment, tags & die cuts into a hanging embellishment for the outside of the jar. Colored twine adds a great finishing touch! 

Christmas Mason Jar Mini Book by Kim Watson
Once slipped inside, the little book becomes the backdrop for the snowman scene, all cute & Christmas-y. The perfect accompaniment to any Christmas mantel decor you might have planned.  


Here is this week’s blog hop line-up:
Tombow Blog
Debbie
Melissa
Jennie
Marie
               Kim Watson >> this is ME!
Tombow Blog

(NB: In order to win you have to leave a comment on every blog included in the blog hop!)

Tuesday, December 18, 2012

Back by popular demand + Giveaway!

hey hey! have you heard.....?

This AMAZING issue is back by popular demandCK's fast & fresh easy scrapbook


You'll need these IMPORTANT links to grab yourself a copy>>
There are some BONUS online downloads just for you>>

How would you like to WIN a copy?

RULES>>
  • Tweet/Facebook/blog about this give-away.
  • Leave a comment on this post.(PS: Make sure your blog profile contains your contact details in case you are the winner :)
  • You have until the 26th December to enter. I will announce the winner on 27th December
Follow these links for more chances of winning a copy>>


  • Kim Watson(you are here)
  • Jing-Jing Nickel
  • Laina Lamb
  • Jana Morton
  • Gretchen McElveen
  • Stacy Cohen
  • Autumn Baldwin

  • This album is an invaluable source of tips & tricks for creating mini books! I was inspired to create a few of these.
    All the BEST to those who play along!

    My Challenges mini book by Kim Watson
     
    Market day mini book by Kim Watson

    2009 vacation mini book by Kim Watson

    Girls Day out mini book by Kim Watson

    Thursday, September 06, 2012

    Teachers gift + Apple mini book


    I posted this album before but I LOVE it & thought I'd post it again in case you missed the step outs. Fancy Pants & Maya Road teamed up,  recently & I was sent this cute apple album to play with. Together with the Off to School collection & created this cute mini album for Max's teacher.


    Gr1 mini book teachers gift by Kim Watson
    For the cover where I layered some of the  goodies from the 'Design Elements' pack & 'Chipboard Elements sheet'. Love how the glittered die cut transparency elements work so well with the rest of the collection.


    Photo pages inside the mini
    Totally inspired by a project by my buddy Amy, I took her lead & included a photo of each child from their official school photos.

    Personalized pages by each child. 
    Each child was given a page to draw on & include a little note for teacher.


    Enjoy your back to school month everyone!